Description and Screenshot
Setting the max_execution_time to 300
Setting the max_execution_time to 300 seconds in a PHP environment allows scripts to run for up to 5 minutes before timing out. Here’s how you can adjust this setting, depending on your hosting environment:
1. Modify the php.ini File
If you have access to the php.ini file (the main PHP configuration file), you can change the max_execution_time setting directly.
Step 1: Locate the php.ini File
- The
php.inifile is usually located in your server’s PHP installation directory. The exact location can vary depending on your server setup (e.g.,/etc/php/8.x/apache2/php.inifor Apache on Linux).
Step 2: Edit the php.ini File
- Open the
php.inifile in a text editor.
Step 3: Find and Modify the max_execution_time Directive
- Search for the max_execution_time directive in the file. It should look something like this:
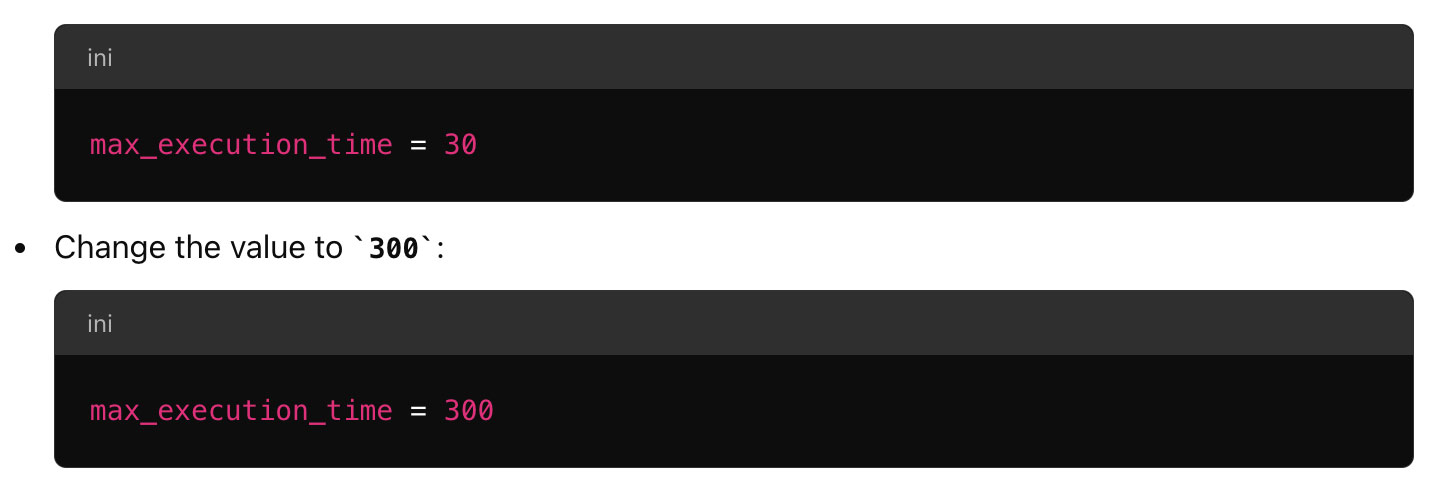
Step 4: Save and Restart the Web Server
- Save the changes and close the file.
- Restart your web server (Apache, Nginx, etc.) for the changes to take effect.
2. Modify .htaccess File
If you don’t have access to the php.ini file, and you’re using an Apache server, you can change the max_execution_time in your .htaccess file.
Step 1: Edit the .htaccess File
- The
.htaccessfile is typically found in the root directory of your WordPress installation or public HTML directory.
Step 2: Add the max_execution_time Directive
- Add the following line to the
.htaccessfile: php_value max_execution_time 300
Step 3: Save the File
- Save the changes to the
.htaccessfile. The new setting should take effect immediately.
3. Modify WordPress wp-config.php File
If you cannot modify php.ini or .htaccess, you can try setting the max_execution_time in your WordPress wp-config.php file.
Step 1: Edit wp-config.php
- The
wp-config.phpfile is located in the root directory of your WordPress installation.
Step 2: Add the PHP Execution Time Code
- Add the following line to the file, near the top:

Step 3: Save the File
- Save and upload the
wp-config.phpfile back to your server.
4. Using cPanel or Hosting Control Panel
If your hosting provider uses cPanel or a similar control panel, you can often adjust PHP settings directly from there.
Step 1: Log in to cPanel
- Log in to your cPanel account.
Step 2: Navigate to PHP Settings
- Look for the
Select PHP VersionorMultiPHP INI Editorunder theSoftwaresection.
Step 3: Adjust max_execution_time
- Find the
max_execution_timesetting and changing it to300.
Step 4: Save the Changes
- Save the settings. The new configuration should take effect immediately.
5. Contact Hosting Provider
If you don’t have access to any of the above, you may need to contact your hosting provider to request an increase in the max_execution_time
